Laser Tracker Measuring Services
Laser Tracker Measurements Services
Laser Tracker Measurements
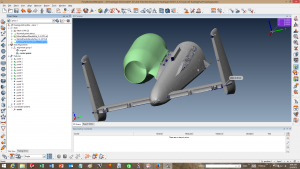
At Prime Machine Inc., we stand as a beacon of innovation in the precision manufacturing industry. Our expertise shines brightly in our ability to revive obsolete parts, transforming them into meticulously crafted components with rapid turnaround times. Utilizing the pinnacle of laser tracker technology, we capture the intricacies of parts with billions of data points. This sophisticated approach, supported by cutting-edge PolyWorks software, allows us to translate complex measurements into three-dimensional parametric models via SolidWorks.
This digital transformation is more than just measurement; it’s the foundation for precision engineering. With these detailed models, we develop computerized machining programs that guarantee components are manufactured to exact specifications, ensuring perfect fit and function. Our capabilities place us in the realm of what might be considered a real-world Star Trek Replicator, where the line between science fiction and our technological reality blurs.
Aerospace Alignment with Laser Trackers
Our prowess extends into the aerospace sector, where precision is not just a requirement but a necessity for safety and performance. Our involvement with the A350 airplane’s tooling alignments underscores our capability in high-stakes environments. Our laser trackers don’t just measure; they inspect and align components against CAD models to produce graphical 3D reports. These reports, available in both Excel for detailed analysis and PDF for broader reviews, highlight variances with unparalleled clarity and precision.
At Prime Machine Inc., we don’t just embrace technology; we push its boundaries to provide services that redefine precision engineering. Whether it’s bringing obsolete parts back to life or ensuring the perfect alignment of aerospace components, our laser tracker measuring services set new standards in accuracy and efficiency.
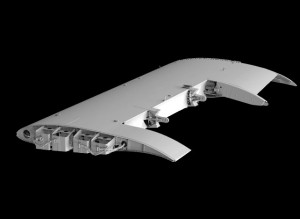
Laser Scanned entire A10 aircraft and provided data for CADD modeling. Images of aft fuselage, empennage, Nacelle and center wing using long range Surphaser technology. We also machine A10 wings and inspect machining with laser tracker three dimensional capabilities.
Our laser tracker crews assisted in the construction of James Webb telescope aligning the components and fitting them in place. Additionally we weld fabricated and machined the test fixture for the telescope testing procedures.
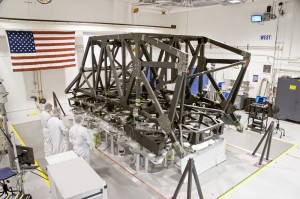
Assembly of James Webb Space telescope back plane using three dimensional laser tracker technology by Prime laser tracker crew members.
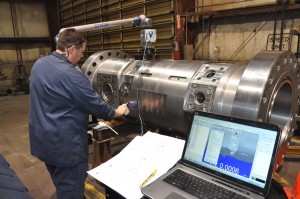
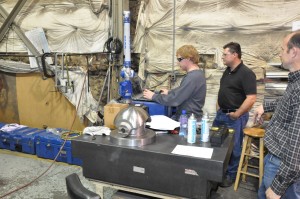
Three dimensional inspection of part with Faro three dimensional arm capable of providing structured data reports.
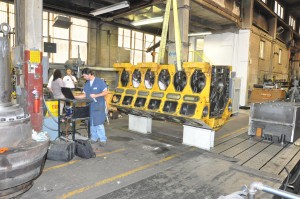
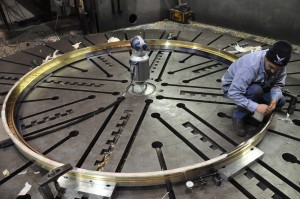
Prime Inspection craftsmen are pictured inspecting components in our shop: Large engine blocks, turbine rotor, complex valve seat, hydro-turbine seal ring, small aerospace parts and an engine head cover. The laser tracker three dimensional inspection equipment takes thousands of points per second and averages the reading so we are able to determine from standard deviation how confident we can be in the measurements by the arms and laser trackers.

