Metrology Precision Inspection & Laser Measurements
MEASUREMENT SOLUTIONS FOR TODAY’S NEEDS USING THREE DIMENSIONAL TECHNOLOGY
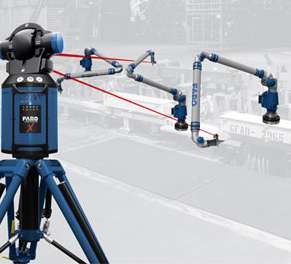
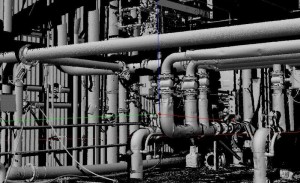
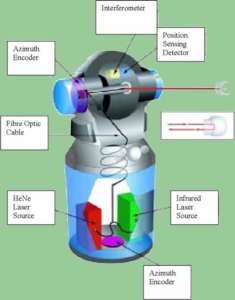
Prime has solutions to the complex issues of three dimensional measurement. Laser Trackers, Arm CMM’s, and Laser Scanners are part of these solutions. They allows us to look at the real world with digital accuracy, virtual nominal perfection, and powerful simplicity. When you need to save time, overcome physical measuring impossibilities, go from “looking good on paper” to reality, or you need to digitize a real object into the virtual world, these tools and our experienced craftsmen provide the solution.
-
-
- Machine tool calibration and geometry verifications
- Process equipment alignments-extruders, grinding mill gears and motors.
- Complex surface analysis of 3-dimensional objects.
- Comparisons to digital cad models, or creation of cad models from surface data. (Reverse engineering).
- Tooling layout, assembly, and diagnosis. (Multi-frame vantage comparisons)
- Multiple set-up machining of single or multiple parts.
- Collation of data taken from different positions, temperatures, and time span to establish trending or conditional changes in position, size, alignment, or wear. Hot/cold, loaded/unloaded alignment condition information, soft foot/structural integrity checks in real time.
- Align equipment to gravity vector (level) with extreme accuracy hydro electric units.
- Eliminates other less accurate and more time consuming ways of large part inspection and alignment.
- Unlimited size measuring capability, using strategic relocation techniques.(Portability)
- Overcomes previous physical measurement, and engineering barriers. Do things that were previously impossible.
- Certification of our machine tools. Verify all machine, line and encoder compensation, along with machine geometry. (Specifically some of the manual machines where ball bar testing can not be utilized, the laser works very well.)
-
-
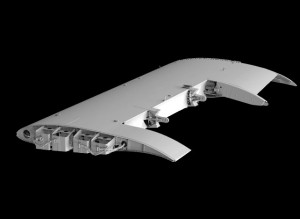
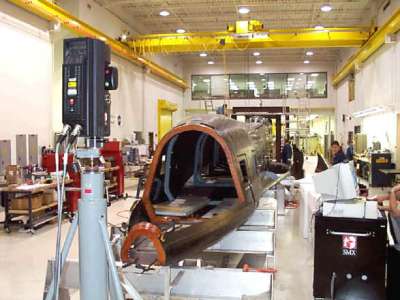
- Using software we best fit a mold for the X34 space plane to 3D CAD model to determine if mold could be used in as is condition after being shipped across the country, for lay up of graphite fiber wing skin. After establishing the deviation condition of the mold, we were able to anchor and manipulate it to minimize the actual error, to the CAD model it was created from.
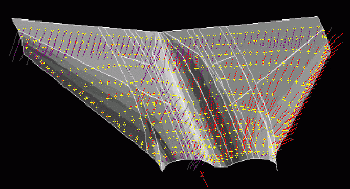
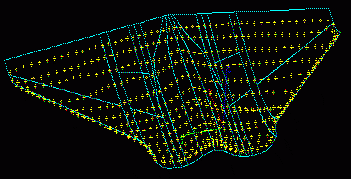
- Using software we best fit a mold for the X34 space plane to 3D CAD model to determine if mold could be used in as is condition after being shipped across the country, for lay up of graphite fiber wing skin. After establishing the deviation condition of the mold, we were able to anchor and manipulate it to minimize the actual error, to the CAD model it was created from.
- Inspected large gearbox bores for parallelism and distortion after the box sustained a major crash. The box was inspected in place, which saved the cost of removing, sending to shop, and setting up on a machine tool for inspection.
- Installed a custom filament-winding machine. The tracker was used to position surfaces and locate components accurately.
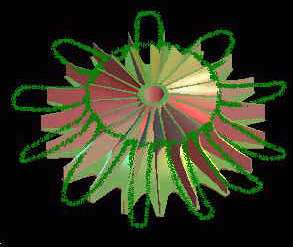
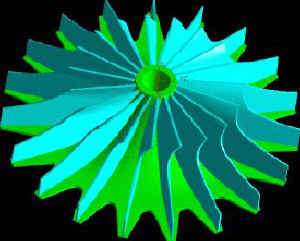
- Used the data collected by the Tracker to reverse engineer a high-speed centrifugal compressor impeller. Down loaded data to Unigraphics version CAD system to develop CNC-machining programs.
- Inspect condition and profile of 20’ Babbitt mill bearing on 24’ V.T.L., for match machining the mating surface to existing bearing profile.
- Oriented field machining boring bar to a gear box output shaft located 30 feet from area requiring machining, which needed to be in line.
- Measured forward and aft rocket motor adapter rings after machining to verify true position, surface flatness and feature dimensions.
- Check alignment and shell condition of ball/rod mills and rotary kilns and dryers while in operation to determine action necessary to correct problems.
- Align steam barrel and internal components in Delaval steam turbine, inspect case condition for bearing and seal alignments, and splitline flatness.
The Tracker has been a big step in the right direction. Improvements in shop accuracy,increased Customer confidence and shop efficiencies. The rapid collection of data with the ability to quickly graphically represent the data is impressive and exciting. I am sure we will find many more uses for the Tracker.
After witnessing the Tracker work and realizing its potential to quickly resolve dimensional or geometric questions, our Customers, Vendors, and ourselves are intrigued to see how many ways it can make our work easier, faster, and more precise. Being able to link the real world to the virtual world is no small issue. It gives us a way to accomplish design and manufacturing feats that before now would have seemed impossible or just too difficult to attempt by conventional means. Together with powerful electronic solids modeling and machining practices, we can do what until now may have been considered science fiction or just plain magic.
 |
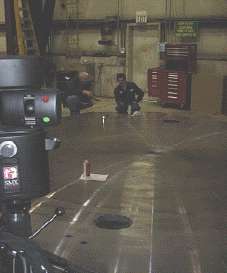 verifying machined dimensions with laser tracker on large vertical machining center. |
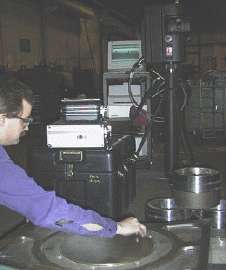 INSPECTING RADIUS & CYLINDRICALITY OF REPAIRED MILL BEARING SHOE |
 |
To learn more about the Laser Tracker go to
www.lasertracker.com

